Targeted & Cost Effective Marketing

• Customizable Patient Counseling Brochures
• Free Web Listing in Vasectomy Doctor Search

How to Get Started with No-Needle

The 2500-V Package includes the MadaJet and all accessories needed to perform the No-Needle Vasectomy. Click to View Items

Below is more helpful information to help you get started.

Video: Sterilizing & Maintaining the Device


Additional Vasectomy Training

No-one can understate the value of hands-on training with a physician who's experienced at performing vasectomy.

While books, articles, and videos are very helpful, subtle things like patient relaxation and the nuances of hand and finger position are best learned physician to physician.


Click Here to Find Out More


« Previous Page

........


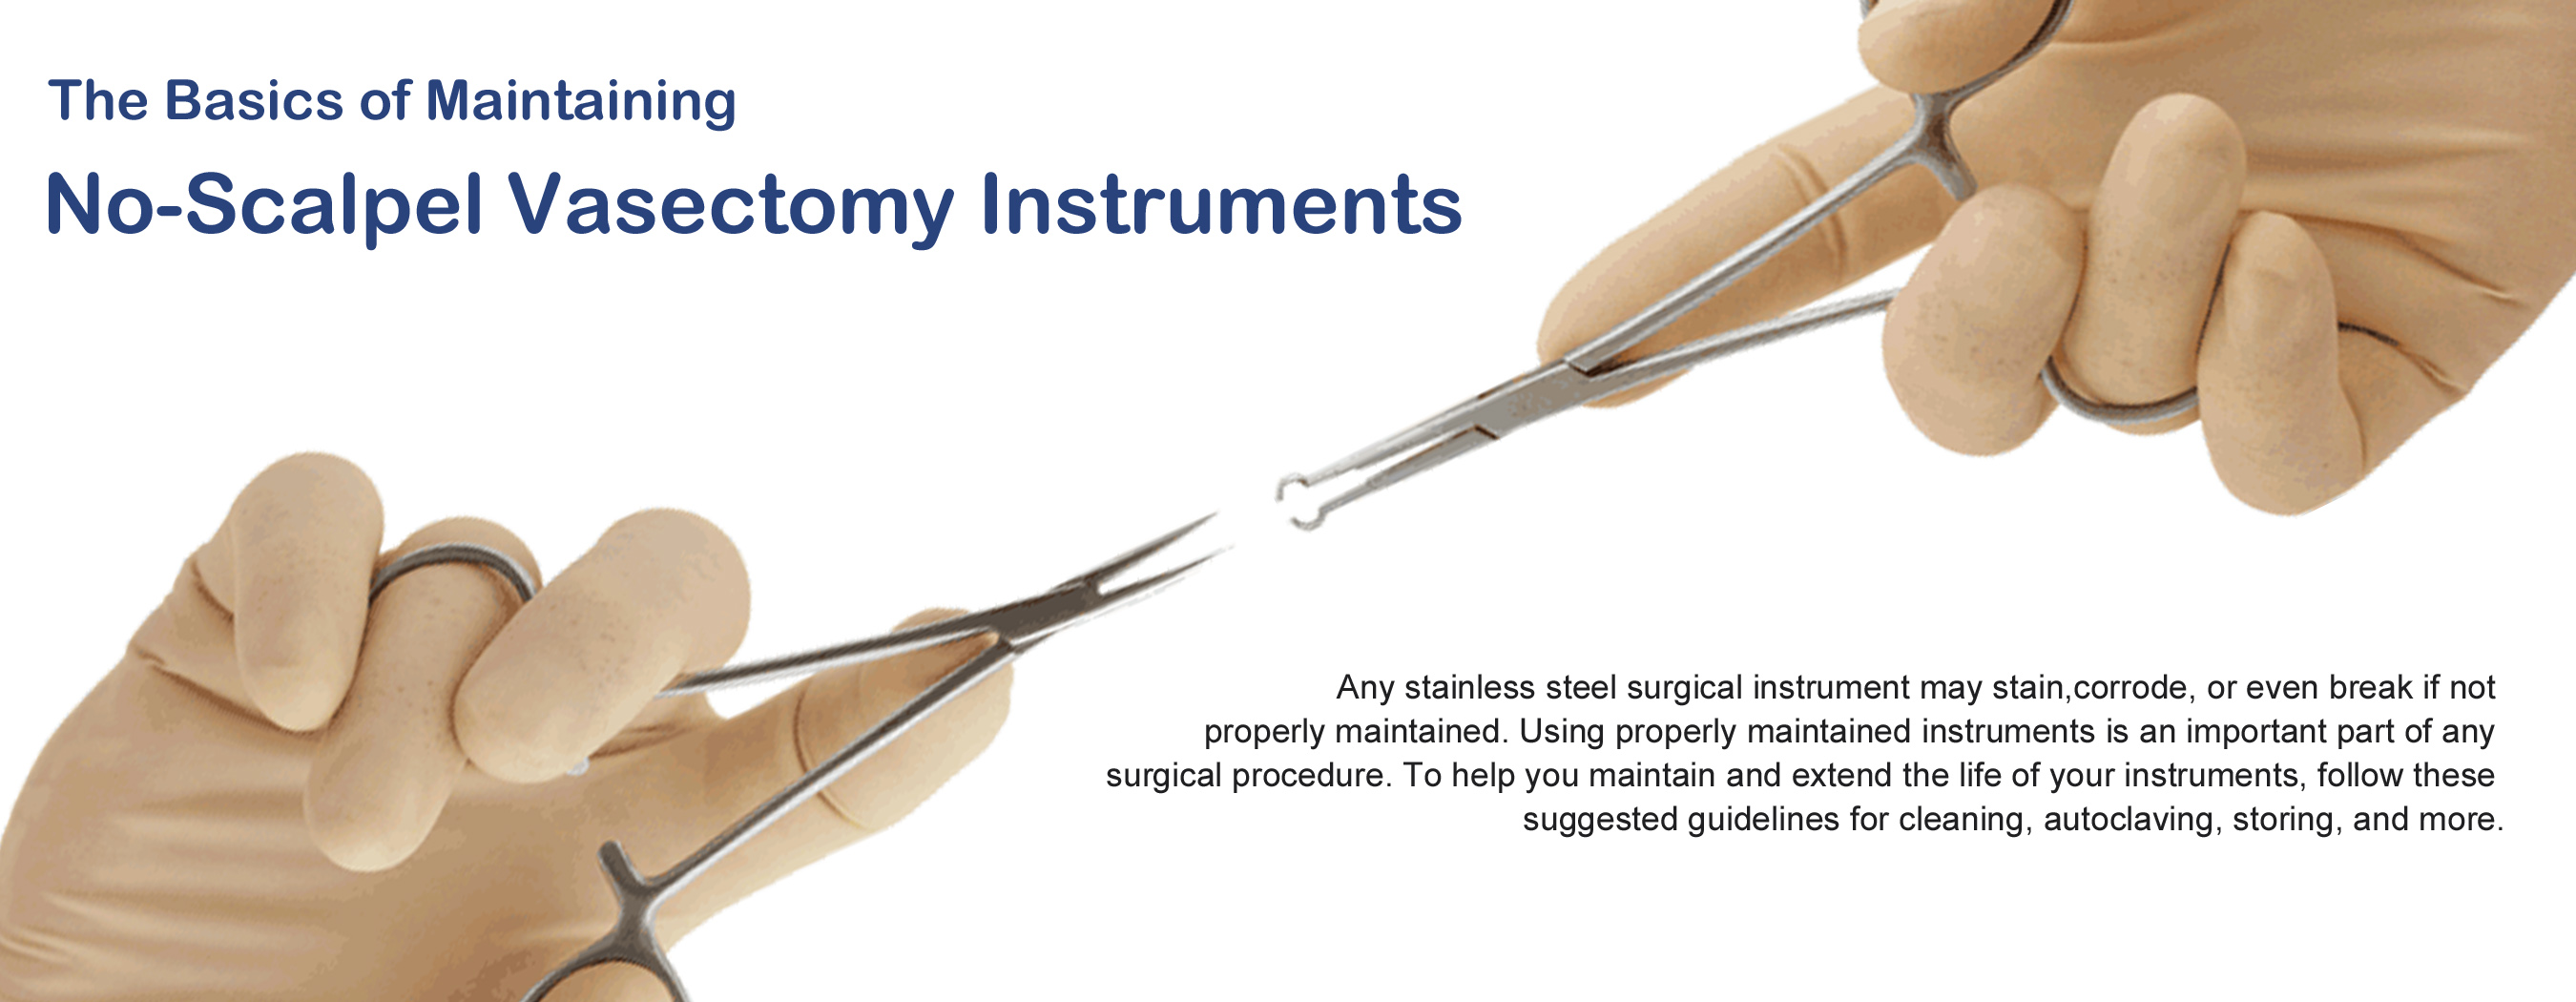
Vasectomy instruments are most likely to sustain damage during cleaning. It is therefore important that they be cleaned by an experienced handler of instruments using the following recommended steps::............................................................................................................................

1. Instruments should be cleaned immediately after each use.

2. Rinse the instruments under warm running water to remove all blood, tissue, and body fluids from surgery.

3. Briefly soak the instruments in an hemolytic enzyme solution such as HaemoSol. Be certain that only neutral pH (i.e., 7.0) solutions or detergents are used. Low pH detergents, if not fully rinsed off after cleaning, will corrode the protective surface of the stainless steel. High pH detergents will corrode or cause "browning" of the instruments that may impair instrument function.

4. If needed, a soft nylon brush or toothbrush may be used to brush away stubborn particles remaining from the surgery.

5. After the brief soaking and, if needed, gentle brushing, rinse individual instruments completely under running water. While rinsing, take care to open and close the forceps and hemostats to ensure that the hinge areas are rinsed as fully as other areas.

6. Carefully place the instruments on clean paper towels to dry. In the case of the surgical hemostats, the fine tips must be placed face-up on the towels to avoid damaging them.


..........

...........

1. As with all instruments having moving metal parts that touch, lubricate your NSV instruments after each cleaning and prior to each autoclaving.

2. Use a professional surgical instrument lubricant such as Miltex Spray Lube and follow the directions carefully. Do not use WD-40 oil or similar industrial lubricants which may damage the instruments.directions carefully. Do not use WD-40 oil or similar industrial lubricants which may damage the instruments.


..........

...........

Steam autoclave sterilization is recommended. Standard autoclave cycle: 134°C for 18 minutes. Other time and steam temperature cycles may also be used. However, user must validate any deviation from the recommended time and temperature.

Autoclave temperature should not exceed 137°C (280°F). We do not recommend cold sterilization or hot air for all of our surgical instruments.


According to Dr. Li Shunqiang, inventor of the No-Scalpel Vasectomy, the major reason for NSV’s documented 10-fold reduction in complications, especially bleeding, is the cantilever on the ring clamp. The Cantilever feature is exclusively found in the design of the LiBrand NSV Ring Clamp.


1. When not in use, instruments should be stored carefully in an instrument case or other secure place.

2. The delicate tips of the hemostats must be fully protected with sterile plastic covers or a segment of silicone tubing.

Hemostat tips should always be placed face up and never allowed to rest against any hard surface.


..........

1. Always follow the manufacturer's operating instructions exactly when using an autoclave to sterilize instruments.

2. If using disposable paper or plastic pouches with individual instruments, be sure to use a wide enough pouch to allow insertion of forceps and hemostats in an open (i.e., unlocked) position.

3. NEVER lock an instrument during autoclaving as this prevents steam from reaching and sterilizing the overlapping metal surfaces. Also, the forceps and hemostats can crack in the hinge areas due to heat expansion during the autoclaving.

4. Take care not to overload the autoclave-- doing so may create "pockets" in the chamber that prevent steam penetration to some instrument surfaces.

5. Place a towel on the bottom of the pan to soak up any excess moisture. IMPORTANT: Be sure that the towels used contain no residual detergent or bleach and have a neutral pH (7.0) if submerged in water. Commercial laundries often use inexpensive, high-pH cleaning agents or bleach and do not properly rinse or neutralize the agents during the final rinse cycle.

6. Following the autoclave cycle and before the dry cycle, unlock the door of the autoclave and open it just a crack (1/2" to 3/4"). Next, run the dry cycle as recommended by the manufacturer. Do not open the door more than this before the dry cycle, as colder room air may enter the chamber and cause condensation on, and staining of, the instruments. IMPORTANT: Omit step 6 if the autoclave is the type that cannot be opened safely between these cycles